Libraries
First, you need to install flexitext with the following command: pip install flexitext.
Flexitext is one of 2 python libraries that make text formatting for matplotlib easy, along with highlight_text. It was created by Tomás Capretto and is inspired by the R package ggtext.
We'll also need to load matplotlib to create the figure.
import matplotlib.pyplot as plt
from flexitext import flexitextSimple matplotlib annotation
In matplotlib, we generally use the text() function that have 3 main arguments:
x: the position of the annotation on the x-axisy: the position of the annotation on the y-axiss: the text to display
Note: it's possible to change the coordinate system when using the x and y arguments (e.g relative to the data or absolute). Check the dedicated post.
A minimalist example using the text() function would like so:
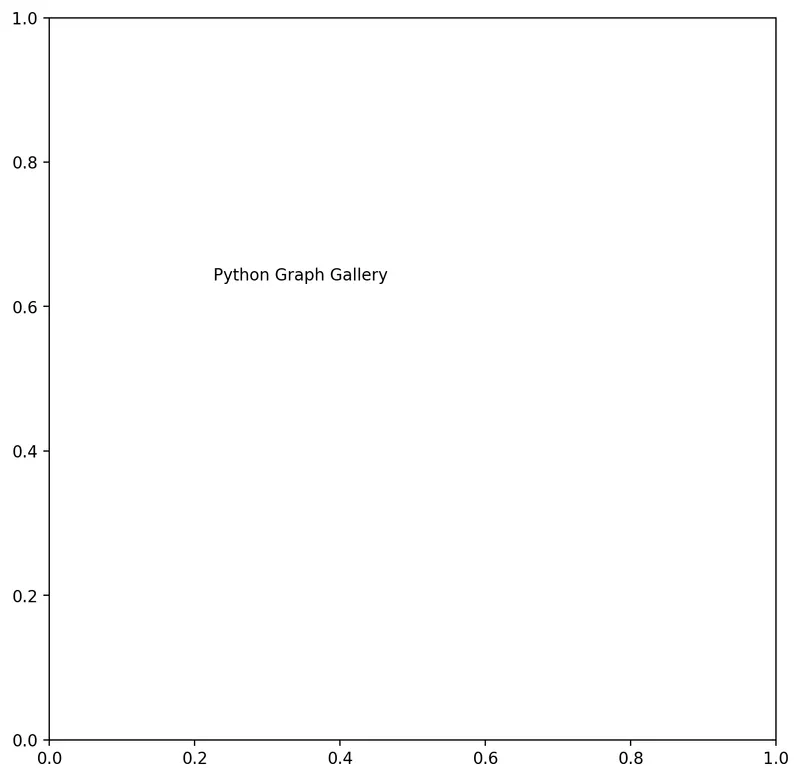
# Init a figure
fig, ax = plt.subplots(figsize=(8, 8), dpi=200)

text = "Python Graph Gallery"
fig.text(x=0.3, y=0.6, s=text)

# Other ways of using the text() function:
# ax.text(...)
# plt.text(...)

# Display the output
plt.show()Stylizing text
The syntax of flexitext is somewhat similar to HTML in that you enclose the text whose properties you want to change in <>.
If you want to change the properties of the first word in the Python Graph Gallery text, you change Python to <>Python</>. Then you set the style properties of Python inside the first <>. So, if we want Python to be larger and blue, it becomes :
<color:blue, size:20>Python</> Graph Gallery
Note: properties must be coma separated.
Finally, instead of using the text() function from matplotlib, we use the flexitext() function, which uses the same arguments!
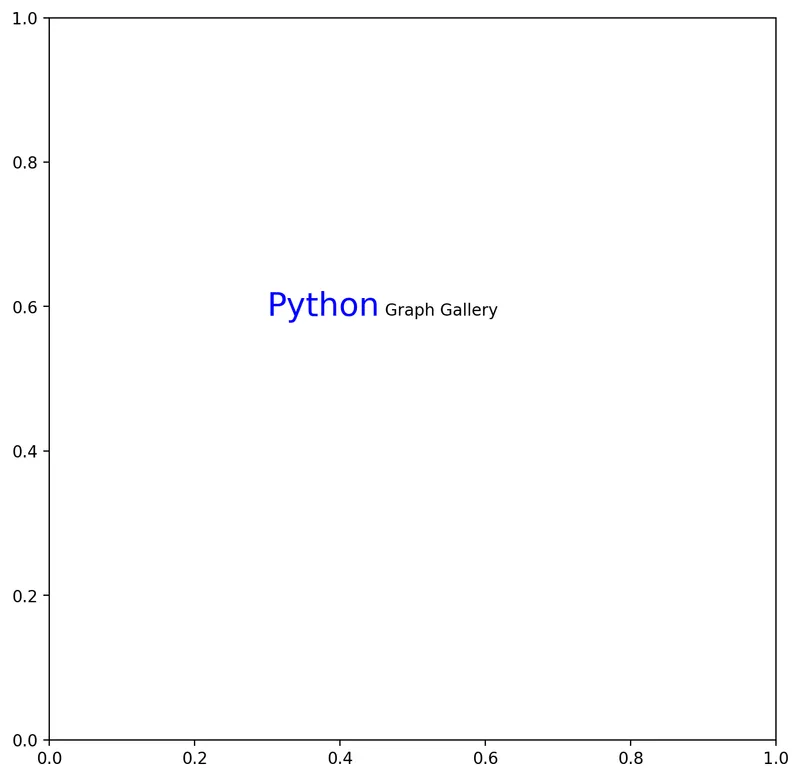
# Init a figure
fig, ax = plt.subplots(figsize=(8, 8), dpi=200)

text = "<color:blue, size:20>Python</> Graph Gallery"
flexitext(x=0.3, y=0.6, s=text)

# Display the output
plt.show()Which properties can I change?
flexitext supports a fixed number of params at the moment:
alpha: text transparencybackgroundcolor: color in the background of the textcolor: text colorfamily: font family of the textname: font name of the textsize: size of the textstyle: style of the text (italic, oblique...)weight: weight of the text (bold, thin...)
If we go back to the previous example and use other parameters, we get the following result:
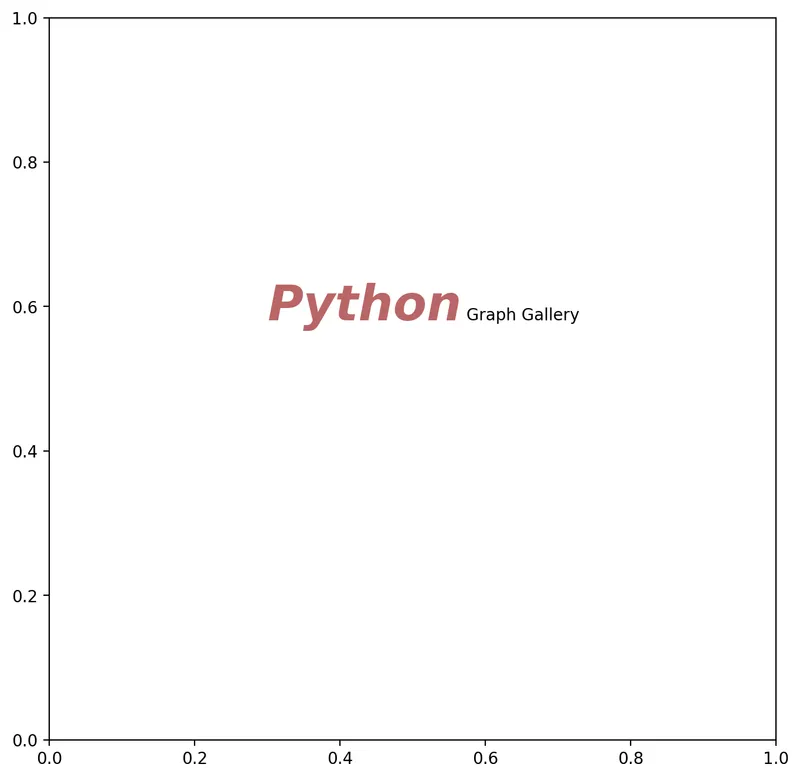
# Init a figure
fig, ax = plt.subplots(figsize=(8, 8), dpi=200)

text = "<color:darkred, size:30, alpha:0.6, style:italic, weight:bold>Python</>"
text += " Graph Gallery"
flexitext(x=0.3, y=0.6, s=text)

# Display the output
plt.show()Combine styles
Once we understand the basics of flexitext, it becomes easy to create text with various styles!
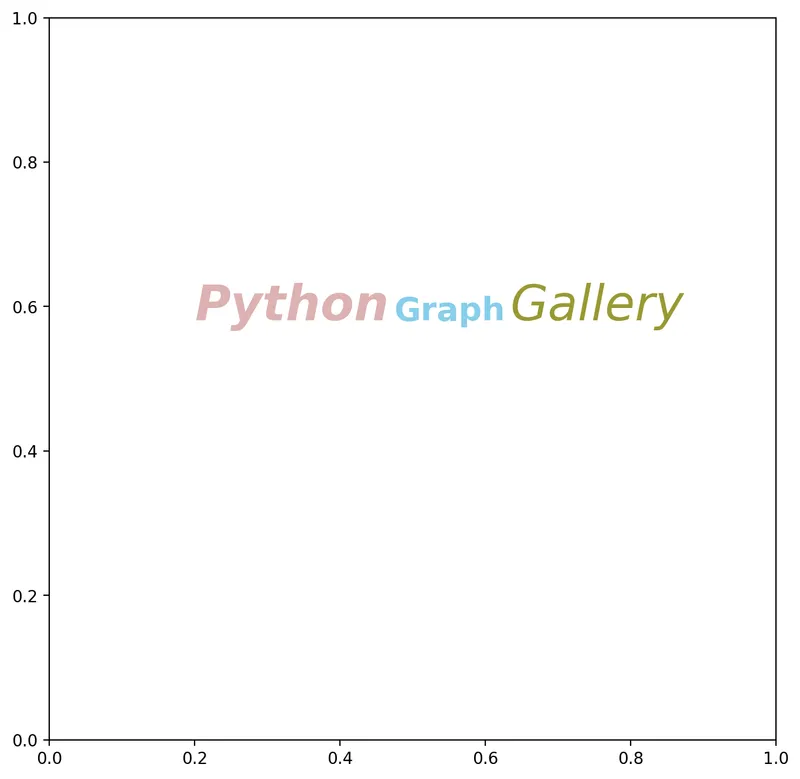
# Init a figure
fig, ax = plt.subplots(figsize=(8, 8), dpi=200)

text = "<color:darkred, size:30, alpha:0.3, style:italic, weight:bold>Python</>"
text += " <color:skyblue, size:20, weight:bold>Graph</>"
text += " <color:olive, size:30, alpha:0.8, style:italic>Gallery</>"
flexitext(x=0.2, y=0.6, s=text)

# Display the output
plt.show()Crossed properties
You may want to apply a given property to the first 2 words of a text (bold), but have different properties between these 2 words (different size).
The following example puts the first 2 words in bold, even though these words have a *different size property.
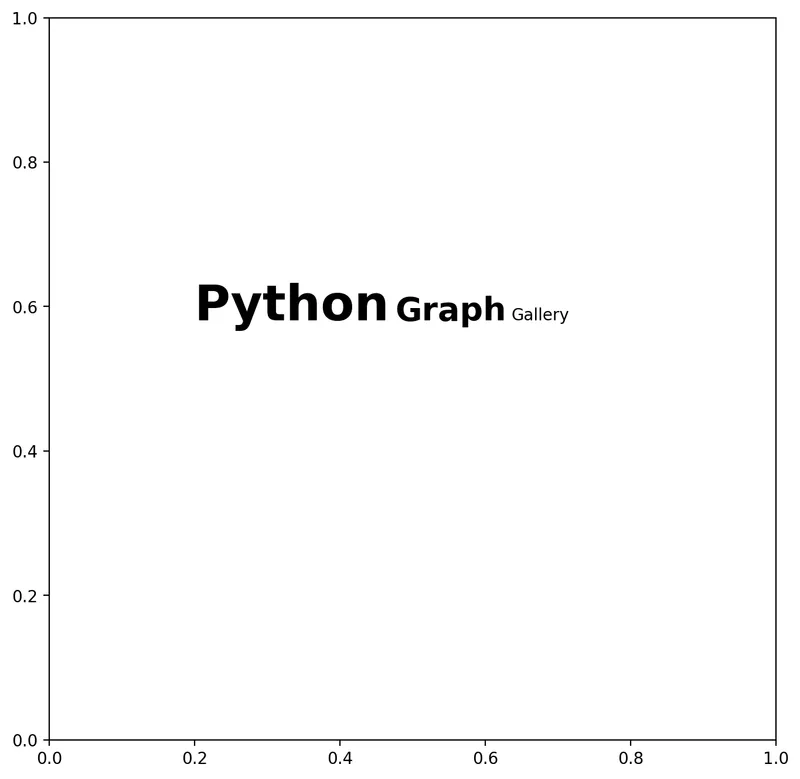
# Init a figure
fig, ax = plt.subplots(figsize=(8, 8), dpi=200)

text = "<weight:bold><size:30>Python</> "
text += "<size:20>Graph</></> "
text += "<size:10>Gallery</>"
flexitext(x=0.2, y=0.6, s=text)

# Display the output
plt.show()Going further
You might be interested in:
- advanced features of
flexitextsuch as automatically increase size/opacity/color of each letter in a word - how to use the highlight_text package